When I needed a place to host a small Node.js API for testing, I didn't want to deal with setting up servers, configuring Nginx, or managing SSH keys just to see if the project worked. That's basically why Render exists, and why so many people recommend it for small to mid-sized projects.
In this post I want to go through:
- What Render actually is
- Why signing up with GitHub makes sense
- What that authorization is actually granting
- How to create the account, step by step
What is Render?
Render is a cloud hosting platform. You give it a Git repository, and it builds and runs your app for you. You don't touch a Linux server directly. No manually installing Node, no configuring a reverse proxy, no setting up a process manager like PM2.
Render supports a few different things:
- Web services (this is what you'd use for a Node.js API)
- Static sites (for frontend builds like a React app)
- Background workers
- Cron jobs
- Managed PostgreSQL and Redis (called Key Value on Render)
For a Node.js backend, "web service" is the one you want — more on actually deploying one in a follow-up post.
Why Sign Up with GitHub Instead of Email
Render lets you sign up with GitHub, GitLab, Bitbucket, Google, or a plain email and password. Technically, all of them work. But if your project already lives on GitHub, connecting through GitHub saves you an extra step later.
Here's the thing I didn't realize at first: connecting GitHub for login and connecting GitHub for deployment are two separate things on Render. You can log in with email and still connect GitHub later just to pull your repos, or you can do both through GitHub in one go.
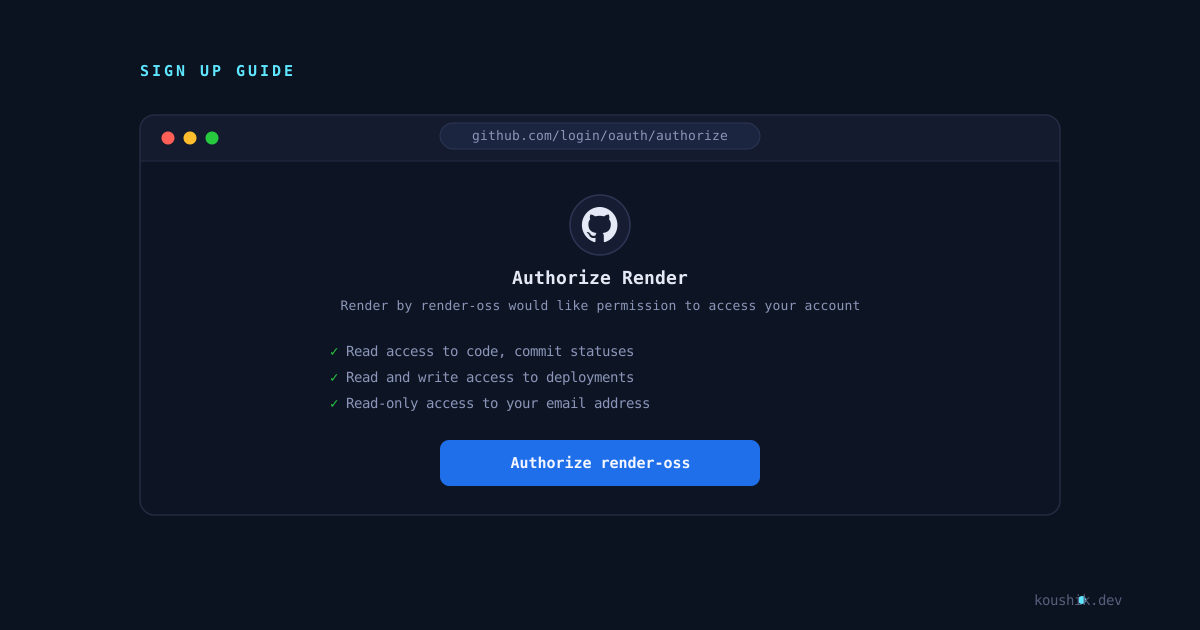
If you sign up with GitHub directly, Render authorizes access to your GitHub account as part of the sign-up flow. That means:
- You skip creating a separate password for Render.
- Your GitHub repos show up right away when you go to create a service.
- Every time you push new code to your connected branch, Render can automatically rebuild and redeploy it, without you doing anything manually.
If you sign up with plain email instead, you'll still need to connect GitHub afterward from your account settings before you can deploy anything from a repo. So functionally, signing up with GitHub is just doing that step upfront instead of doing it twice.
One thing worth knowing: if you connect GitHub for login, and you have an existing Render account tied to the same email as your GitHub account, Render will just log you into that existing account instead of creating a new one. So it's not going to create duplicate accounts by accident.
Creating the Account
If you don't already have a GitHub account, you'll need one first. On github.com, click Sign up, enter an email, create a password, pick a username, and verify your email address. That part is separate from Render entirely.
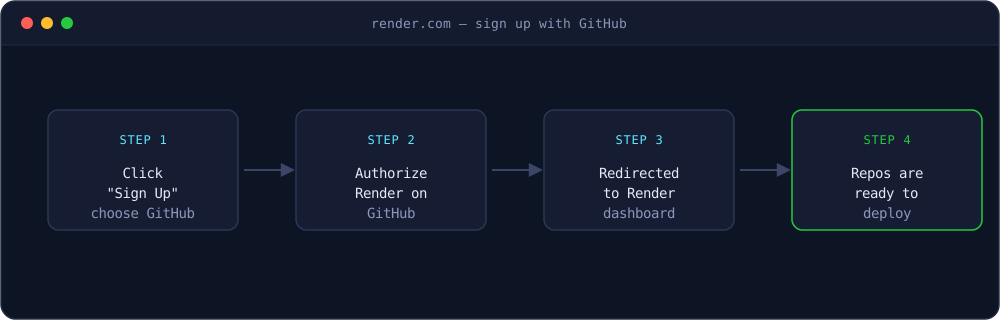
Once GitHub is sorted, go to render.com and:
- Click Get Started (or Sign Up).
- Choose GitHub as the sign-up method.
- GitHub will ask you to authorize Render to access your account. You can allow access to all repositories or only specific ones. I'd recommend picking specific repos if you're cautious about what you give a third-party platform access to, though most tutorials just select all.
- You'll be redirected back to the Render dashboard, and your GitHub repos should now be visible when you create a new service.
That's really it. No credit card required to sign up or to deploy something on the free tier. With the account connected, the next step is actually deploying something — I cover deploying a Node.js app as a web service, plus the free-tier trade-offs, in a separate post.